
Crafting a Square-Based Slab Mug by Hand
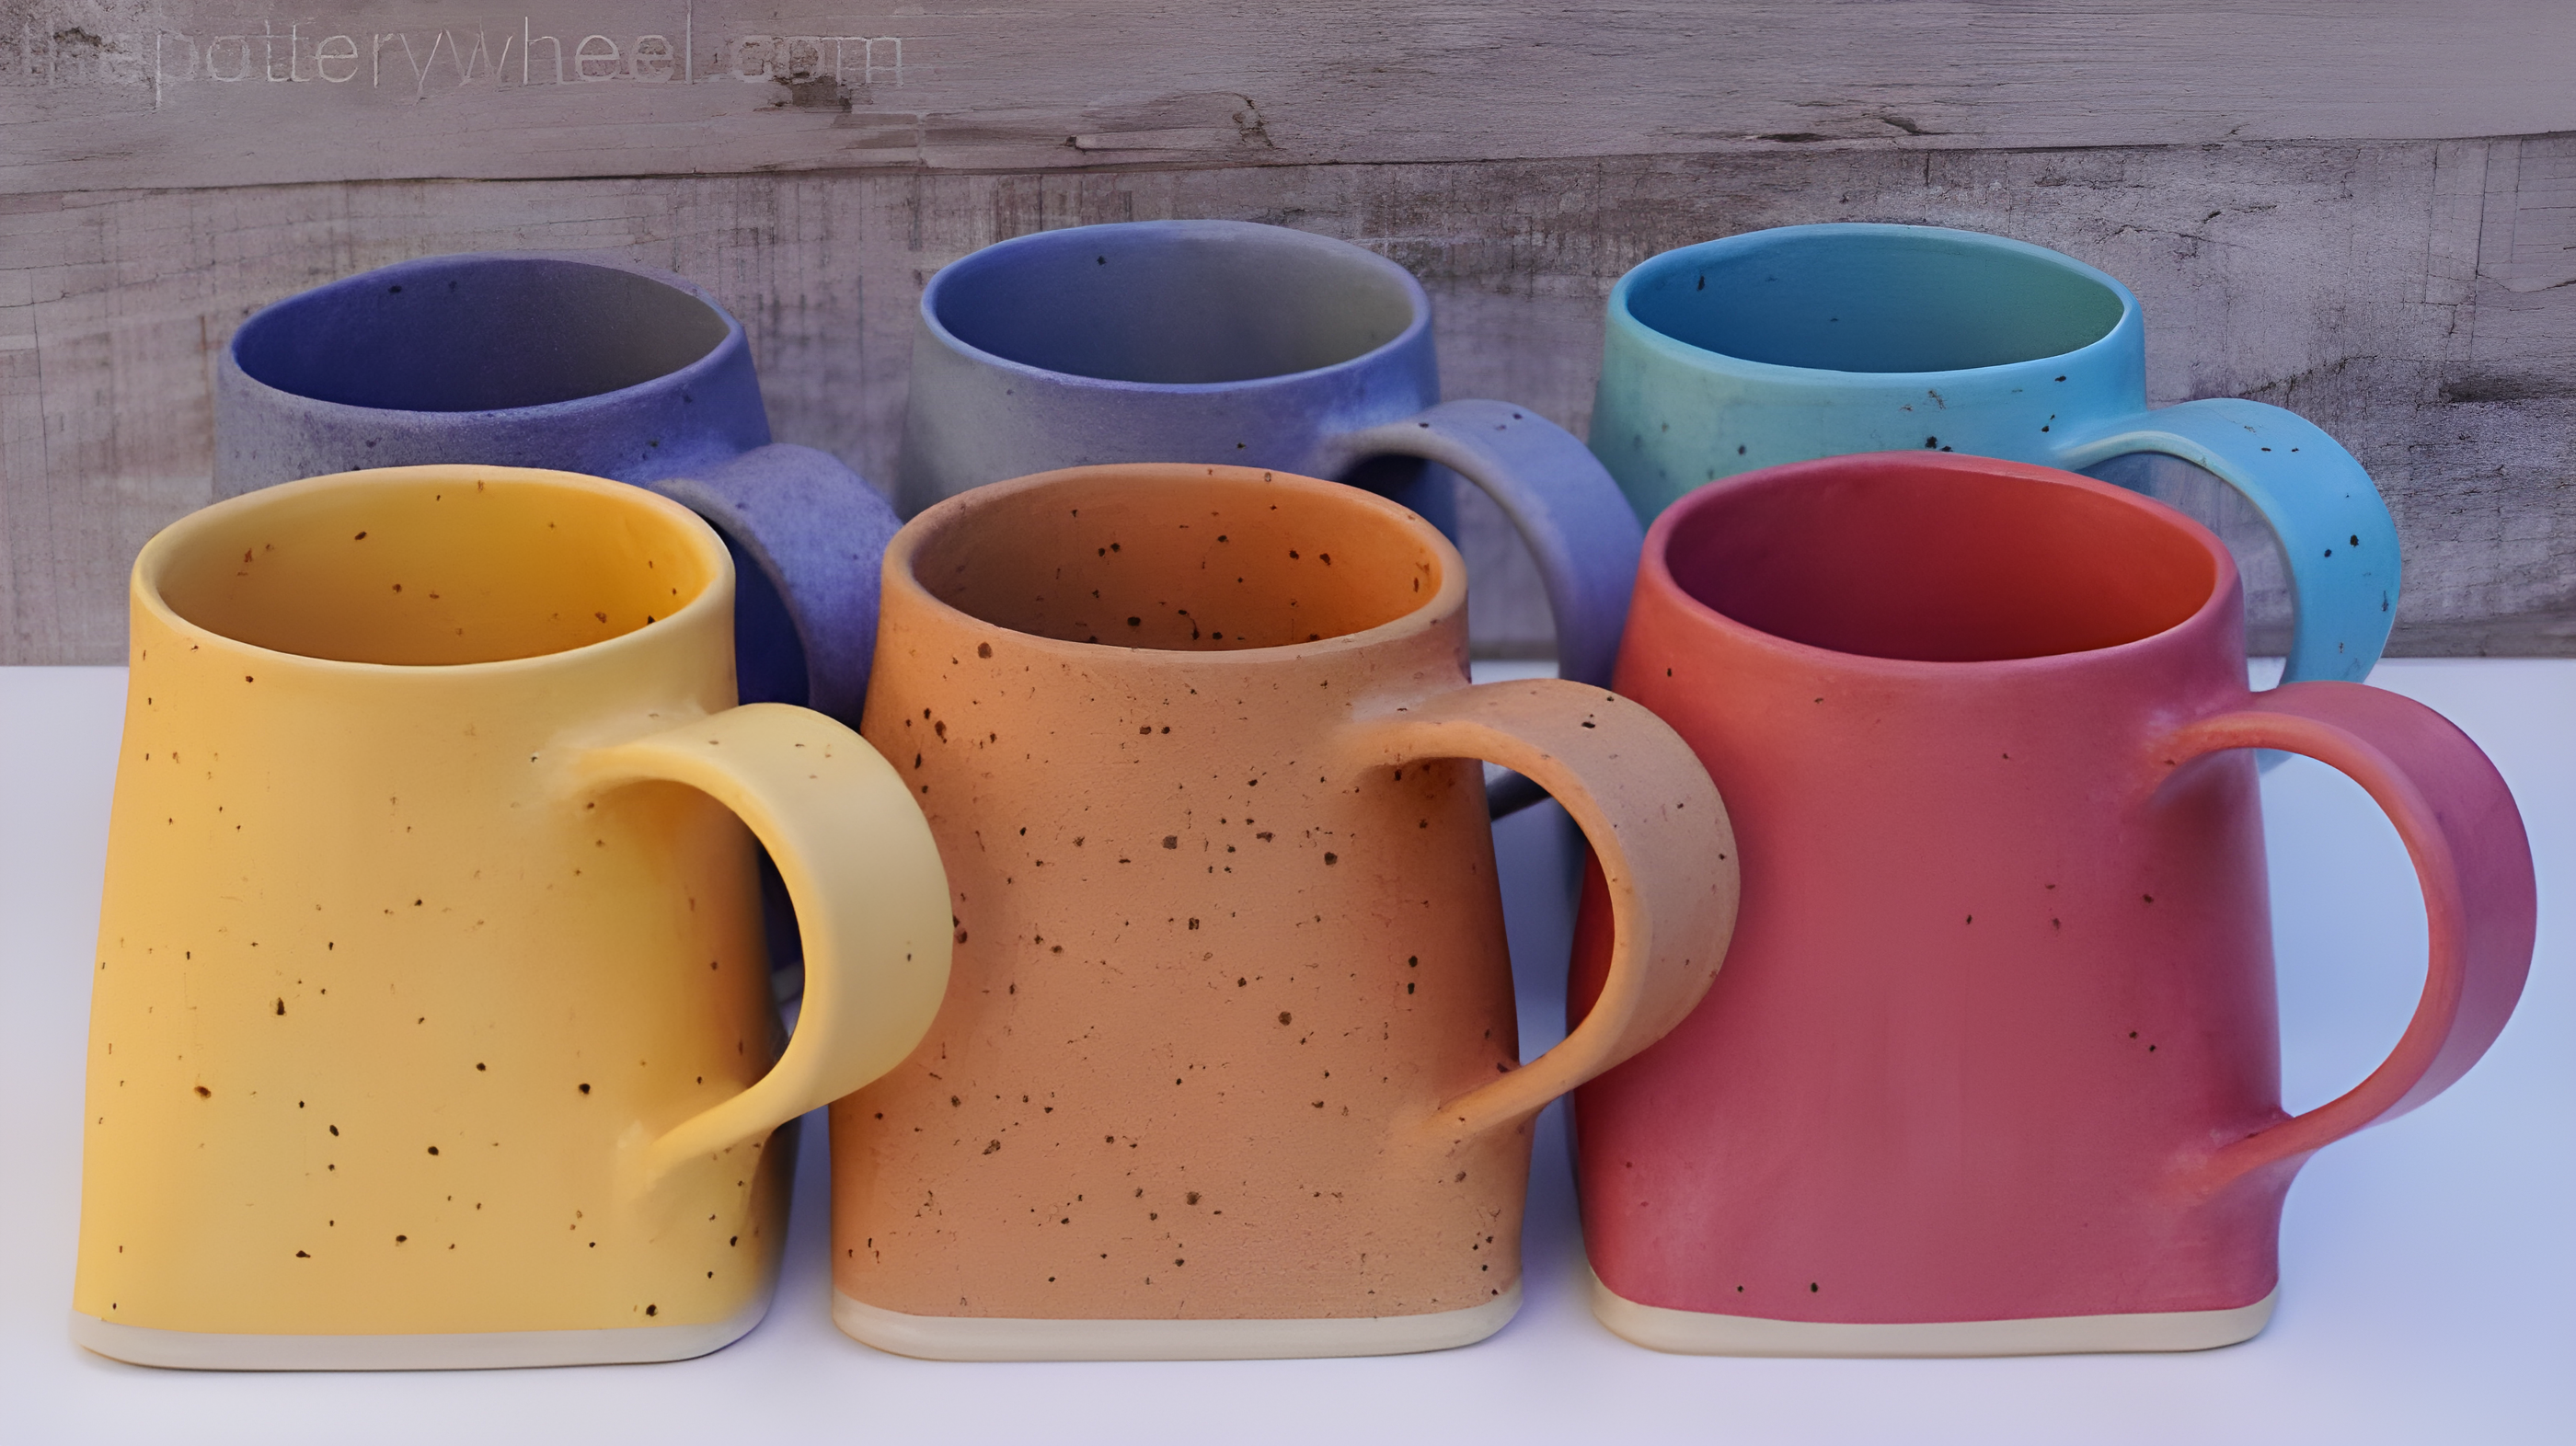
Creating a square-based slab mug is a rewarding pottery project that allows for creative expression while honing fundamental clay-building techniques. Unlike traditional round mugs, this design brings a modern, geometric twist to your pottery collection. The process involves rolling and shaping slabs of clay, joining the pieces together, and carefully refining the mug’s form. <blockquote>Working with slab pottery offers endless possibilities for customization. Once you master the basics, you can play with textures, glazes, and decorative elements to make each piece unique.</blockquote>
Preparing the Clay Slab
The foundation of a great slab-built mug starts with properly preparing the clay. First, take a lump of clay and press it down with the heel of your hand to flatten it slightly. This makes rolling it out easier. Using a rolling pin, roll the clay evenly on a non-stick surface—canvas stretched over plywood works well. To maintain an even thickness, use roller guides on either side of the slab. A thickness of about 3 mm is ideal for a lightweight but sturdy mug.
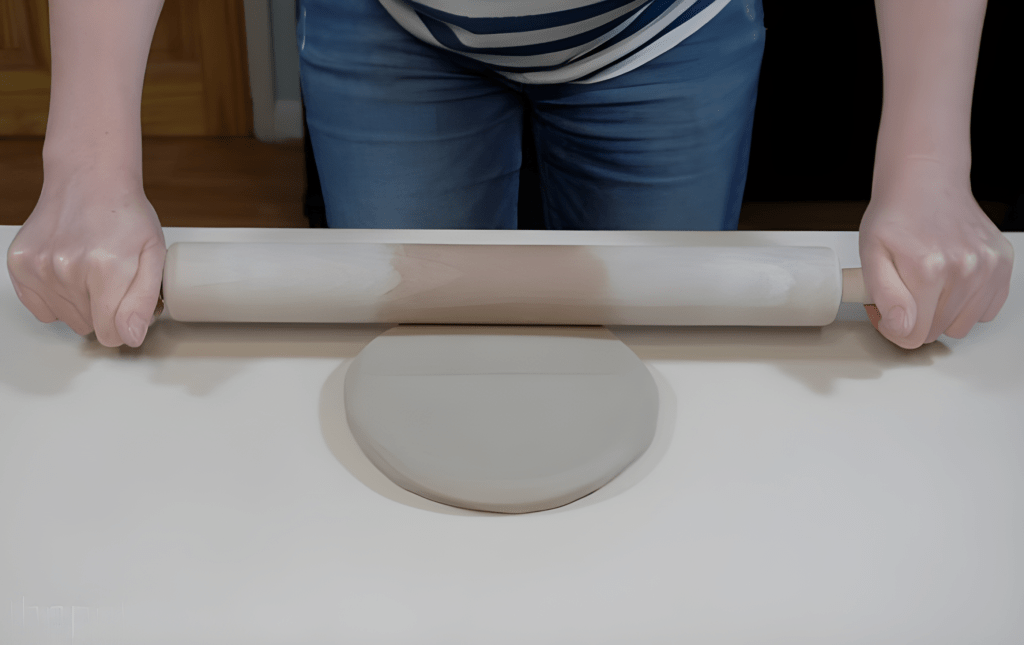
To prevent warping, turn the slab over occasionally and roll it in different directions. Once the slab reaches the desired size, smooth its surface using a rubber pottery rib or a wide platter tool. This compresses the clay and removes any texture left by the fabric.
Cutting the Mug’s Body
Once the slab is ready, it’s time to shape the mug’s walls. Using a paper or foam template, outline the shape of the mug’s body onto the clay. A craft knife works well for cutting precise edges. Save the offcuts—they can be used later for the base or handle.
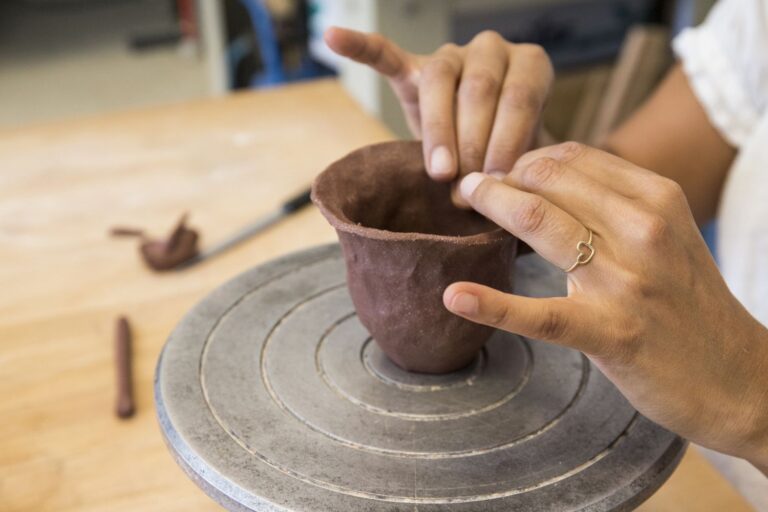
At this stage, smooth the rim of the mug before assembling it. Running a damp sponge along the edge helps refine it, making it comfortable to drink from. Since the clay is still soft, it should be left to firm up slightly before assembling the mug. Placing it between sheets of paper and under a lightweight board helps prevent warping as it stiffens.
Crafting the Square Base
The base of the mug is cut from one of the leftover clay slabs. Using a straight edge or a template, carefully cut out a square. The edges should be smooth and even, ensuring a snug fit when the base is attached. Let the base firm up slightly before joining it to the body.
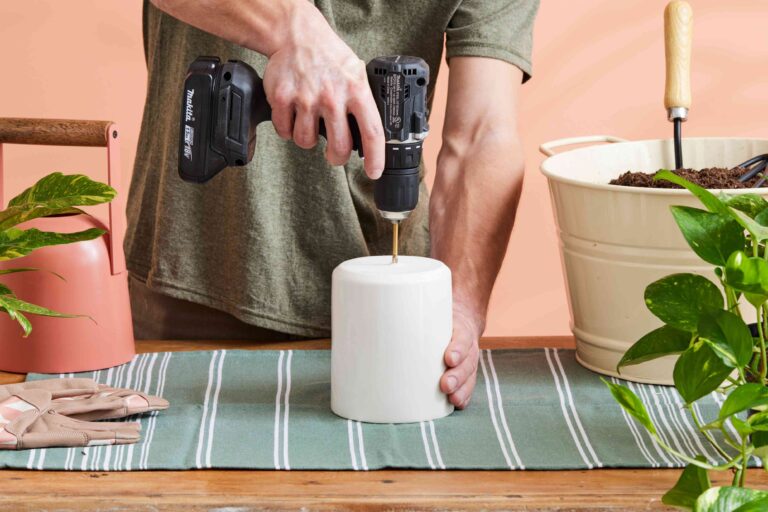
To ensure a strong bond, both the bottom edge of the mug and the perimeter of the base need to be scored. A serrated rib tool works well for this, creating a rough surface that allows the slip to adhere better. Apply slip—a liquid mixture of clay and water—onto the scored surfaces before carefully placing the base onto the bottom of the mug.
Press gently to attach the base, then use a wooden modeling tool to blend the seam, ensuring a seamless connection. Any excess clay around the edges can be trimmed and smoothed out for a clean finish.
Shaping the Mug’s Body
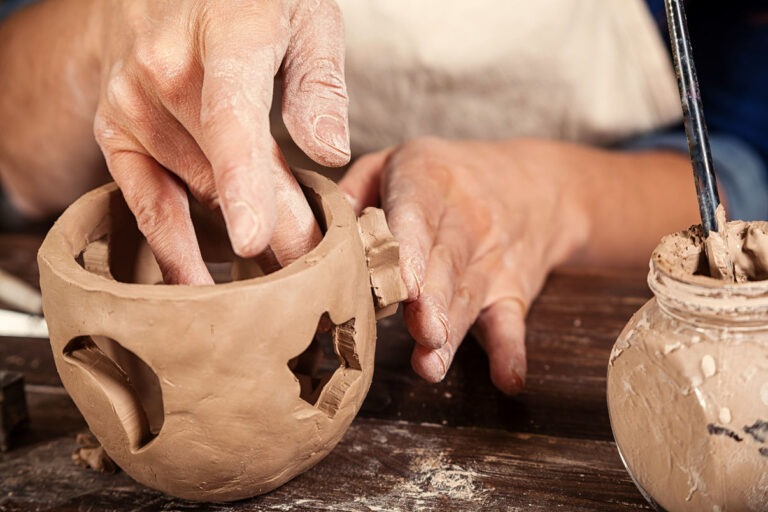
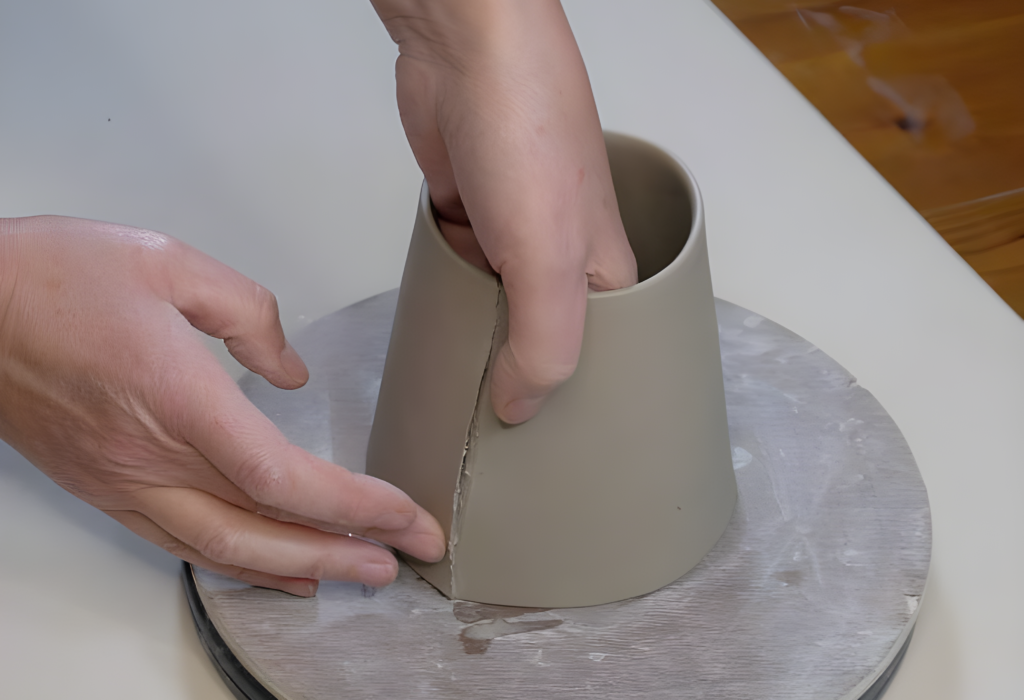
Before fully assembling the mug, the cylindrical form must be transformed into a square. This is done by carefully pressing along the sides, working from the corners outward to create a defined square shape. A simple paper guide with a square outline can help maintain symmetry.
As the shape takes form, any fine cracks that appear in the clay can be smoothed out with a damp sponge. Ensuring that the clay is at a soft leather-hard stage is crucial—too soft, and it will lose shape; too dry, and it will crack when pressed. <blockquote>The transition from a rounded cylinder to a squared form requires patience. Gently pressing rather than forcing the shape will yield the best results.</blockquote>
Crafting and Attaching the Handle
The handle should be sturdy yet comfortable to hold. A separate clay slab is rolled out and cut using a template. Handles are often made slightly thicker (around 6mm) for added durability.
Before attaching, the handle is curved into its final shape and left to firm up slightly. The points where the handle meets the mug need to be scored and slipped, ensuring a secure attachment. Once positioned, a wooden tool can be used to reinforce the connection, blending the joints smoothly.
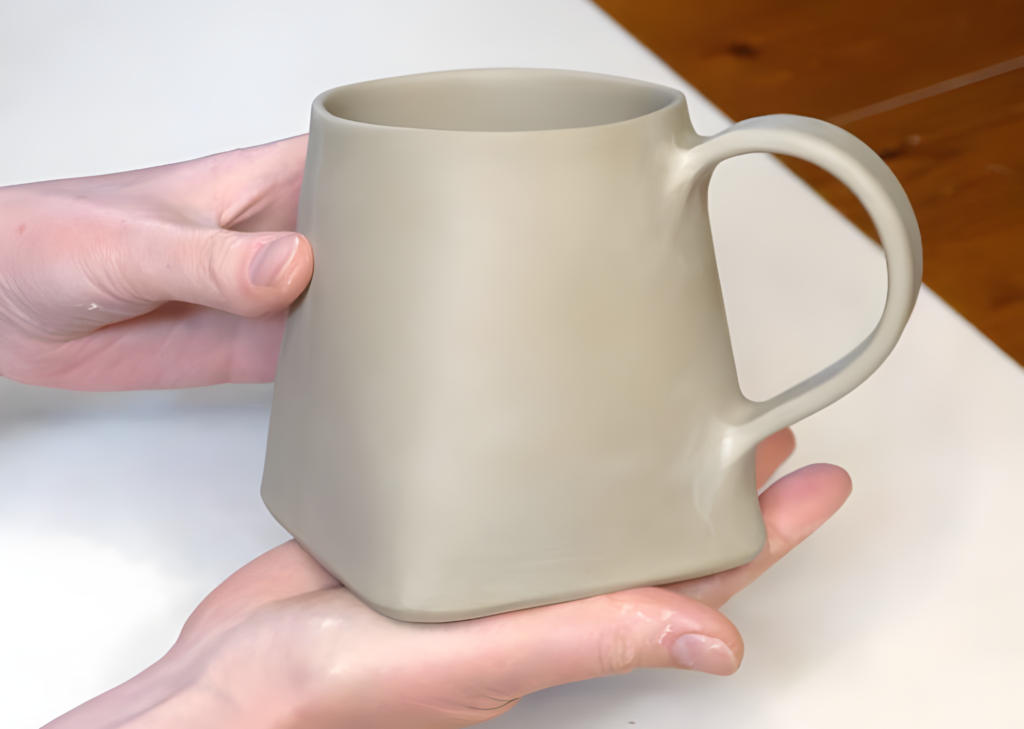
Final Refinements
Once the mug is assembled, the entire piece is checked for imperfections. Any rough edges are smoothed out using a damp sponge or soft rib tool. The inside seam of the mug is carefully blended to create a clean interior.
To prevent uneven drying, the mug is loosely covered with plastic and left to dry slowly. This helps prevent cracks from forming. Once fully dry, it is bisque-fired, glazed, and fired again, bringing the final piece to life. <blockquote>The beauty of hand-built pottery is that each piece carries the unique touch of its maker. Even small imperfections add character and charm to a handmade mug.</blockquote>
With this technique, you can create your own square-based slab mug, experimenting with textures, colors, and shapes to make it truly your own.