
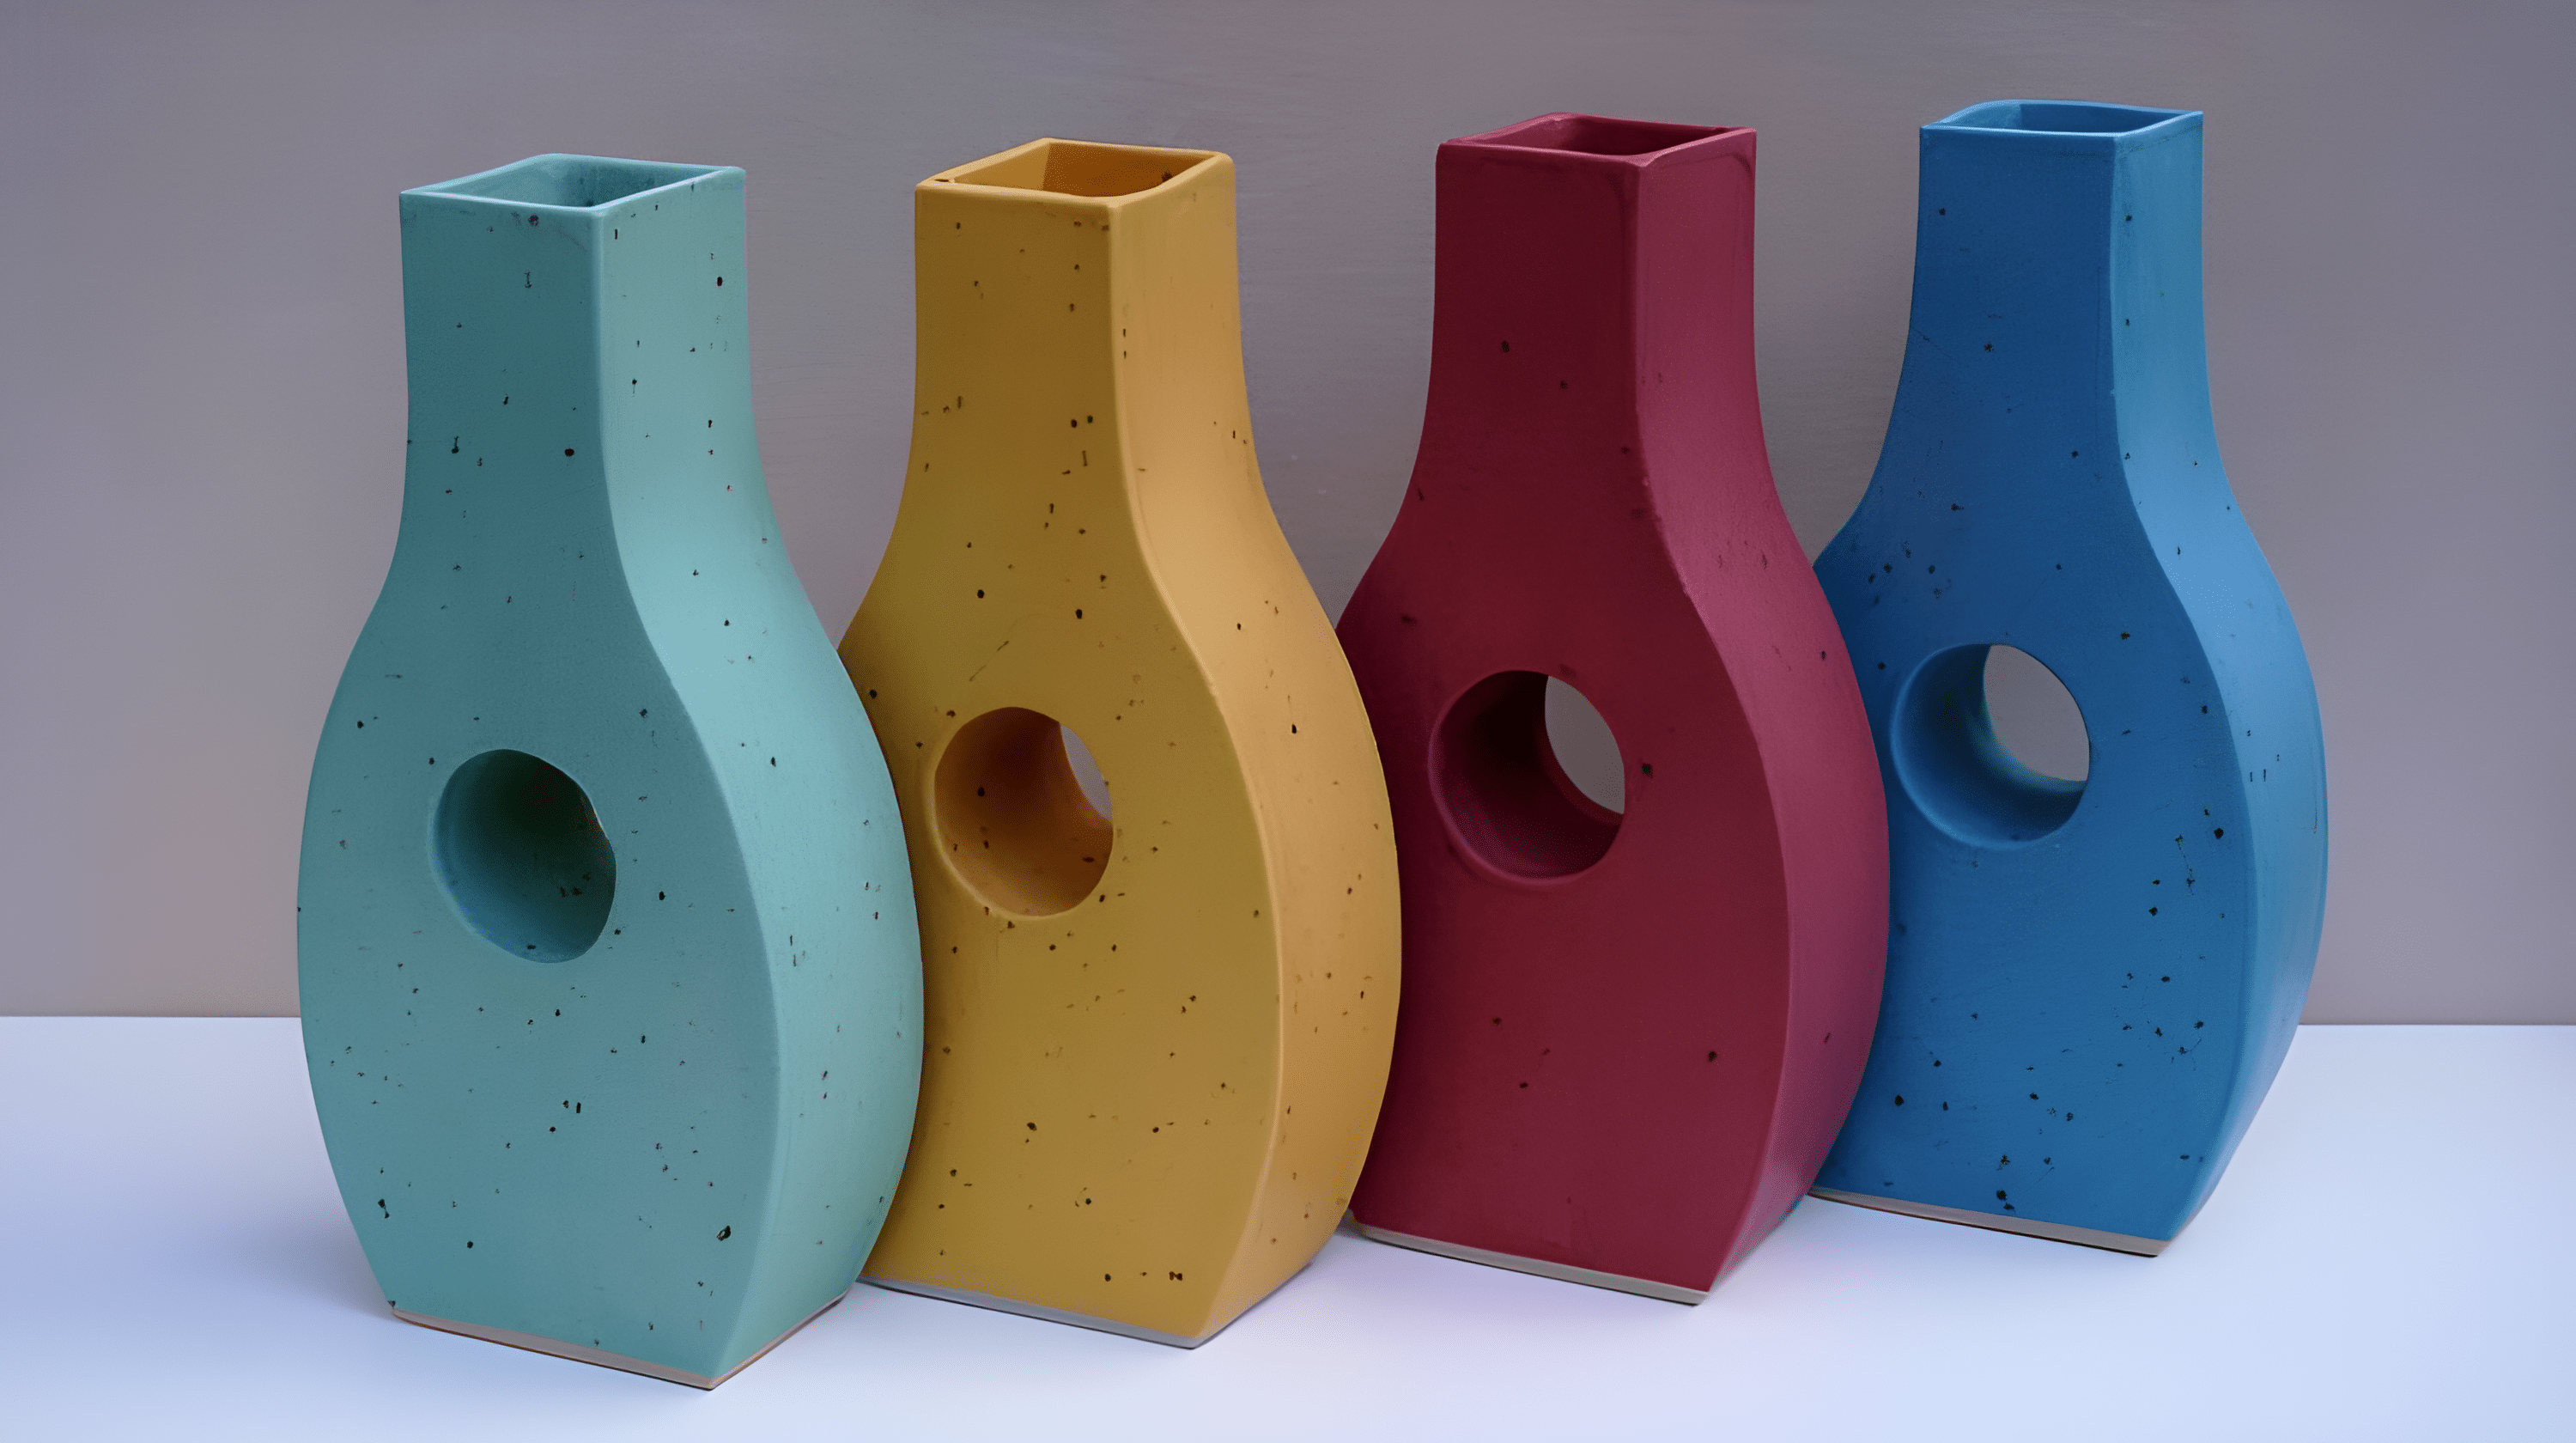
Creating a Unique Donut Vase from Clay Slabs
The donut vase is a stylish and modern ceramic form, recognizable by its elegant circular shape with an open center. While many potters shape these vases on the wheel, there’s another approach that offers more control over form and detail—handbuilding with clay slabs. This technique allows for clean edges, precise design, and endless creative possibilities.
Let’s explore how to craft a slab-built donut vase, from rolling the perfect slab to assembling a well-balanced structure.
Working with slabs gives you the freedom to create structured, geometric designs that would be difficult to achieve on the wheel. The key is patience—each step builds upon the next, requiring careful handling of the clay.
Preparing the Clay Slab
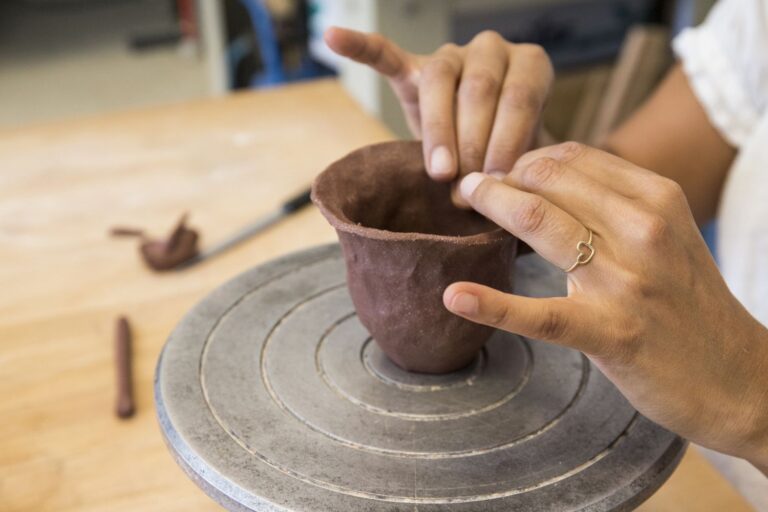
A solid foundation starts with rolling an even slab of clay. Begin by selecting a clay body that suits your design—stoneware is an excellent choice for durability, while porcelain offers a sleek, refined finish.
Place two wooden guides (about 3 mm thick) on either side of the clay to maintain uniform thickness. Using a rolling pin, gently roll the clay outward from the center, taking care not to trap air bubbles. Once the slab reaches the desired size, smooth it with a rubber rib to eliminate any texture left by the rolling process.

If the slab feels too soft, let it firm up slightly on a wooden board before cutting out your shapes. A slightly leather-hard consistency will make handling easier and help maintain the vase’s structure.
Cutting the Main Shapes
The donut vase consists of several key components: the two large circular sides, a smaller circular opening in the center, and connecting strips for the edges.
Print or sketch a template for the vase dimensions. Place it over the slab and carefully cut around the outline with a sharp clay knife. For clean, smooth edges, hold the knife steady and use your opposite hand to guide the motion.
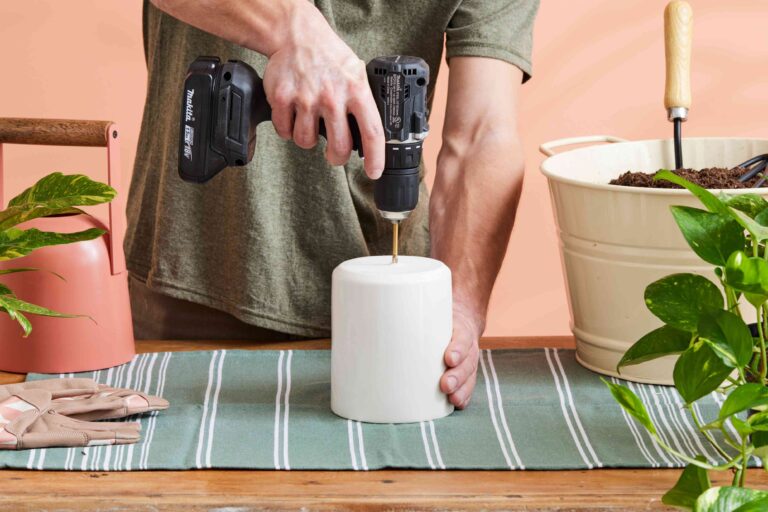
Next, cut out the center hole of the vase—this will create the signature donut shape. The removed clay can be reclaimed and reused for other elements of the design.
At this stage, the clay should still be slightly flexible. If it’s too soft, allow it to firm up for better handling when assembling the vase.
Shaping the Inner Tube
The hole in the donut vase is more than just an opening—it also requires depth. To create the inner wall, cut a rectangular strip of clay that matches the circumference of the hole.
Before attaching it, bevel both short edges of the strip at a slight angle. This ensures a seamless connection when forming a cylindrical tube.
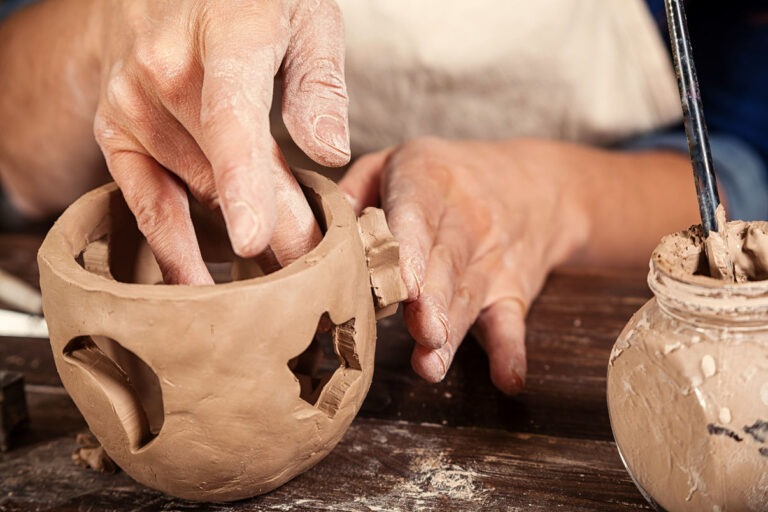
Score and apply slip to the beveled edges, then join them together to form a ring. Carefully attach this clay ring to the inner circle of one of the large vase sides, blending the seam smoothly.
Scoring and slipping are essential for strong joins in slab pottery. Always score both surfaces that will be joined and use a generous amount of slip to create a secure bond.
Building the Vase Structure
With the inner section in place, it’s time to assemble the vase walls. The process follows the same principles:
- Score the edges where pieces will connect
- Apply slip generously
- Press the sections together firmly, smoothing the seams.
Begin by attaching the base—a small rectangular slab that supports the structure. The side strips come next, curving around the edges of the vase to create a three-dimensional form.
When positioning the side strips, gently shape them to follow the contours of the vase. A flexible clay slab allows for slight adjustments, so take your time aligning everything before pressing the joins together.
Once assembled, reinforce the connections with small clay coils blended into the seams. This technique strengthens the vase while maintaining a seamless appearance.
Attaching the Second Side
The final step in construction is adding the second large circular slab to complete the vase. Score the edges, apply slip, and carefully position the slab over the structure. Because this side encloses the form, precise alignment is key.
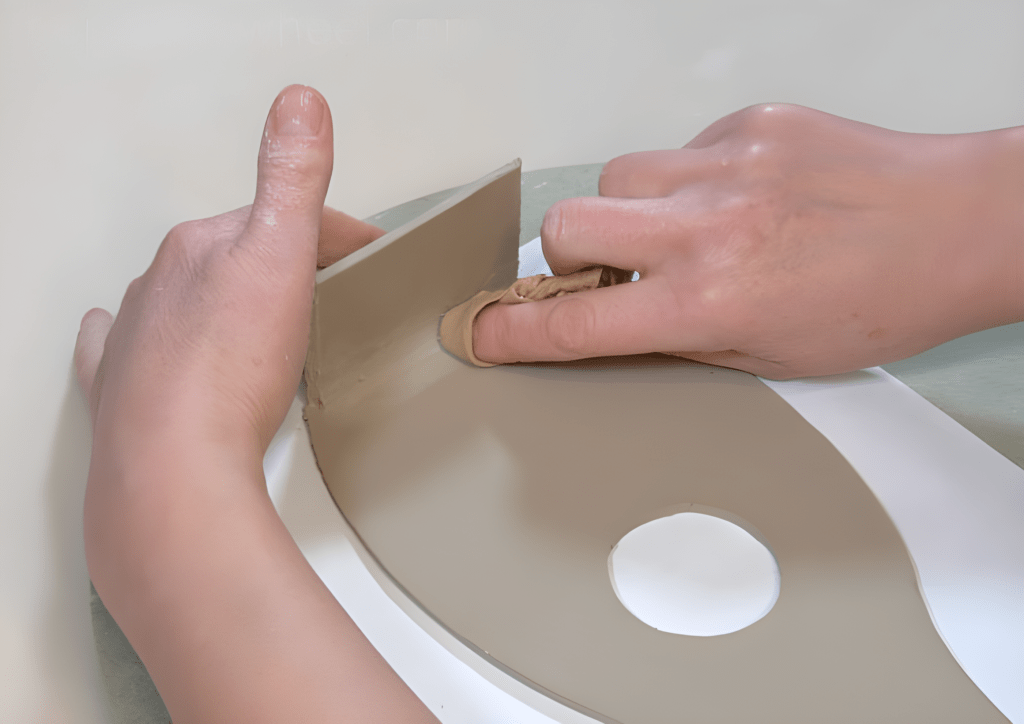
After securing the slab in place, blend the outer seams with a wooden tool, ensuring a smooth transition between all sections. Pay extra attention to the edges of the hole in the center, refining its shape for a clean and polished look.

At this stage, the donut vase is fully formed, but it may need some final adjustments before drying. Use a damp chamois to soften any rough edges and smooth out surface imperfections.
Drying is just as important as shaping. Let the vase dry slowly and evenly to prevent warping or cracks. Covering it lightly with plastic can help control moisture loss.
Finishing Touches
Once completely dry, the vase is ready for bisque firing. After the initial firing, glazing adds the final touch. A matte glaze enhances the modern aesthetic, while a glossy or speckled finish gives it a unique texture.
Consider experimenting with different surface treatments, such as underglazes, slip decoration, or sgraffito, to personalize your vase.
The slab pottery donut vase is a project that combines structure with creativity, offering endless opportunities for refinement and experimentation. Whether left unglazed for a raw, organic look or finished with a vibrant glaze, this handmade vase is a stunning statement piece.